This is a new version of an image I took back in January 2007. I spent two nights capturing data, but I have never been satisfied with the original processing. I have finally have gotten around to trying again.
On preliminary comment in self-defense here. This is a difficult object, even under dark skies. It is diffuse, with the broader areas quite dim. I was imaging in West Los Angeles, with very light-polluted skies. Much of the galaxy is only slightly brighter than the background sky glow in the city. I may have taken eight hours of data, but seeing was not that great and the signal was barely above the background.
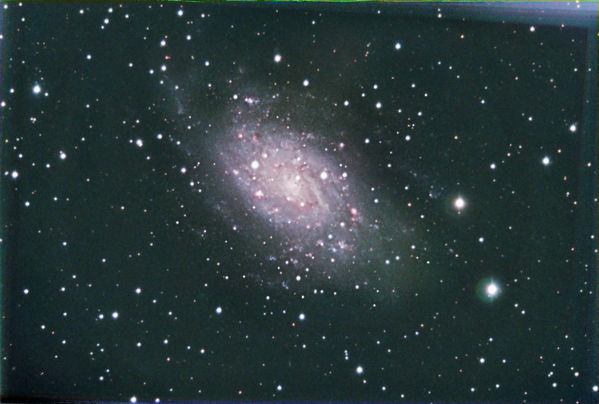
Here is the original image. It has many flaws. First, it is mirror-flipped so the orientation is incorrect. It should have been cropped before it was processes to eliminate the lines all around the edges. It is stretched too hard and looks over processed.
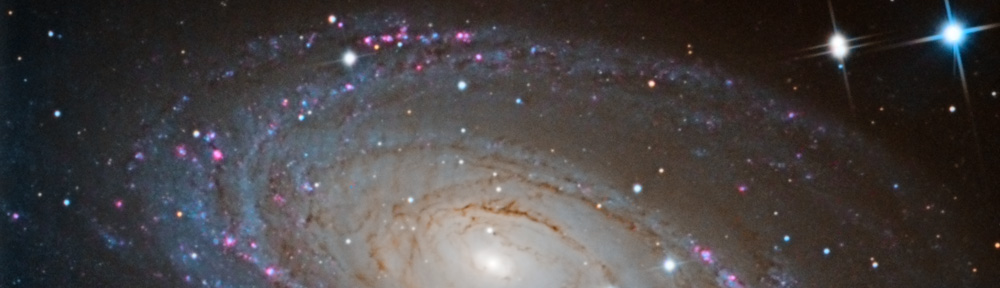
Here is the revised image.
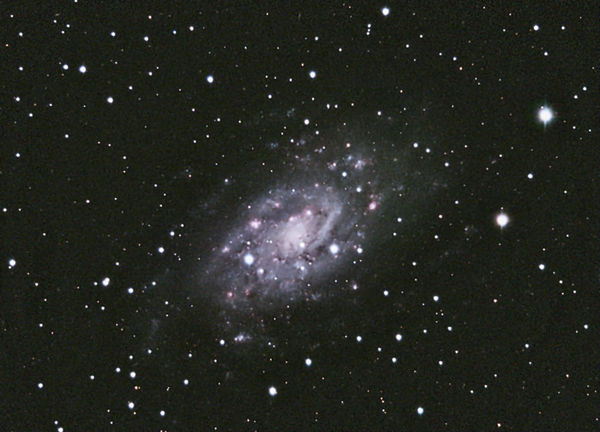
I was much less aggressive on stretching the image. Image reduction (darks and flats) was done in Maxim DL. I aligned and stacked the images in CCDStack. I found that the bicubic b-spline resampling produced the least noise in the align process. I used mean combination to combine the subframes. Technique-wise, I created a master luminance frame and then used that to align the R/G/B frames.
Most of the processing was done in PixInsight. I did most of the enhancement work was done on the luminance image. I cropped the image, rescaled it to use the full dynamic range. This was required since the signal was very low and I had combined with a mean combine rather than a sum. A sum would have produced higher totals, but the net result is the same as a mean. I stretched the image with historgram, but did not clip it but for a small amount at the lower brightness levels.
I did try to do most of the processing on a linear version of the image, per the advice of the experts from PixInsight. While I was able to more easily get a star mask built, HDR Wavelet and other functions just didn’t work well.
With the image stretched appropriately, I copied it and did an HDR wavelet transform with a star mask applied. This was averaged with the original image. That was essentially the final luminance image.
For the RGB frames, I did a similar stretch process, attempting to create similar-looking histograms for each one. I then combined all frames into a color image using LRGB combination. I brought that image into Photoshop to adjust the color balance and then used Russ Croman’s Gradient Xterminator to flatten the background. Finally, back into PixInsight for some brightness touch up and noise reduction.
The exposure is LRGB 8 hours, 10 minutes total exposure, L = 115 min (23×5 min) + RGB 375 minutes, RGB = 125 min (25×5 min), all unbinned. The equipment: C-11 @f5.95, CGE mount, ST-10, CFW-8A, AO-7, & Hutech LPS Filter.