Construction — Almost Done

In the last two weeks we’ve almost completed primary construction on the new observatory. The interior finish is complete, electrical is installed, and the well equipment installation is almost complete. Final inspection is planned for this coming Tuesday.

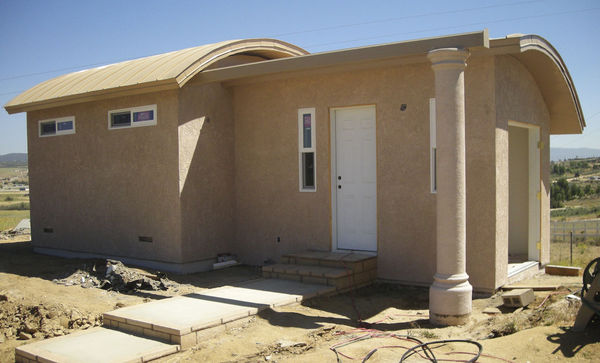
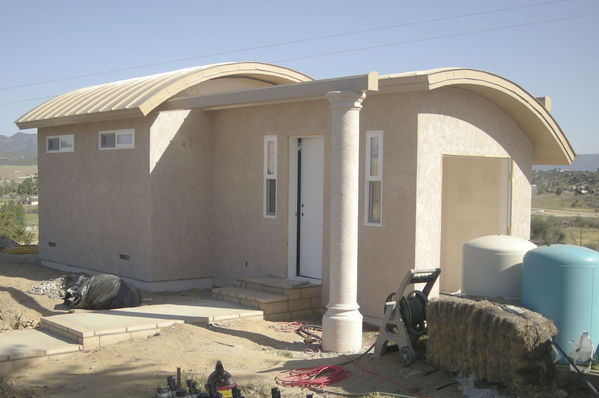
Here is the front view, looking to the south. All the finish is complete except for the equipment room doors, which are off pending completion of the well work. Not too different from a couple of weeks ago, but the locks are on the door and the exterior lights are mounted. Note the dark sky friendly downward facing exterior lights. Click on any picture to go the gallery with larger versions available.

View to South

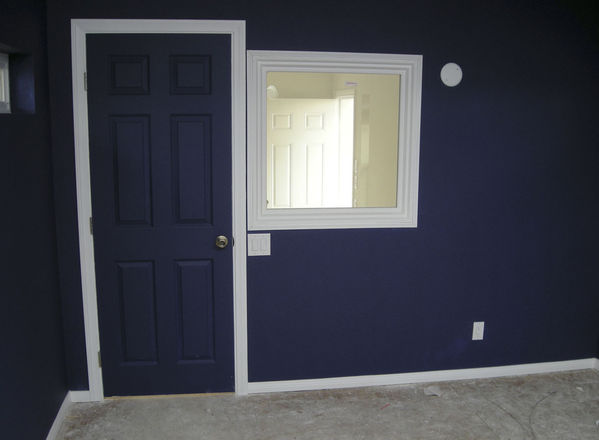
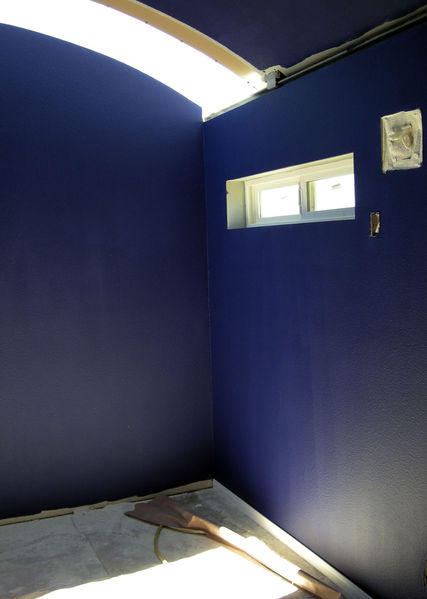
On the inside, the finish is complete. I’ll be adding foam flooring once the final paint touch up is complete and we are past inspection. I have a spool of red rope lights to add which will be controlled by a dimmer. My current open question is what to do for interior, white, not-for-observing lighting. There are boxes for fixtures on each wall, but I am not sure what type of fixture to put up. I’d like to be able to work inside and possibly illuminate a white hanging on the wall for flats, but don’t want anything that would shine in the eyes while working.

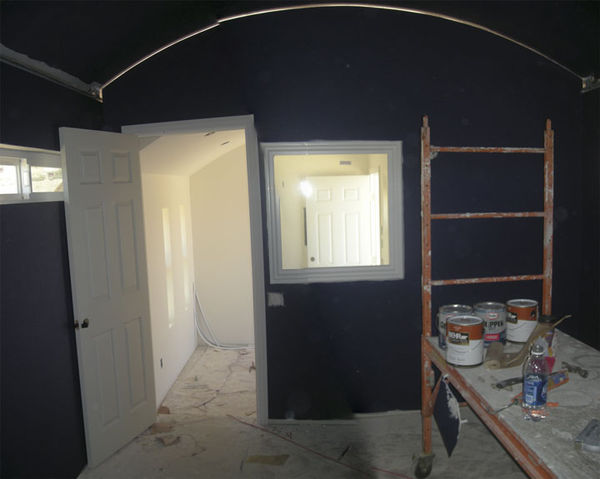
This view looks from the observatory to the warm room. I think the white trim will help moving around in the dark and reduce the chance of falling down the two steps into the warm room.

Observatory to Warm Room

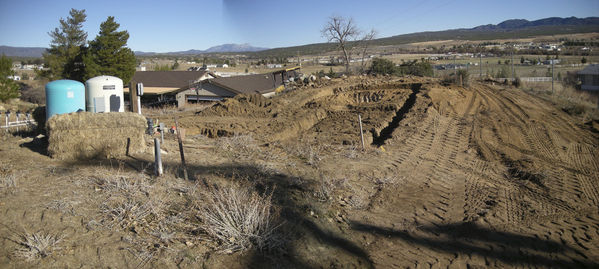
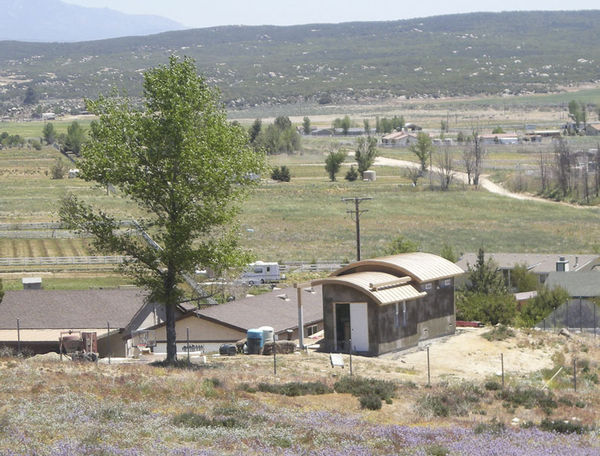
I thought it would be interesting to show a before and after shot. I don’t have a full panorama from before construction that includes the well equipment, but here is one from the first day of construction.

Before Construction

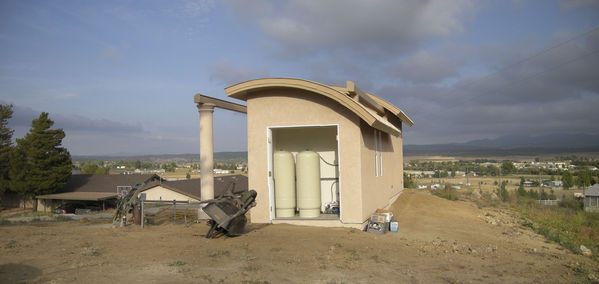
Here is a shot taken on June 13, with similar framing. The old well equipment is gone. The two tall tanks in the equipment room are the new trapped air pressure tanks. The doors will go on the equipment room once the new booster pump is working.

Construction Complete (mostly)

I am looking forward to getting the floor installed, the pier in place, and the scope working!

Interior Finish Started

Here is a quick update on construction progress. As of last weekend the drywall was complete and paint almost complete. I note that my prior outside shot of the observatory was lightened too much. So here is a shot, looking to the south, that has better color balance.

View to South

But the real progress is all inside now. This view looks from the observatory into the warm room. It is a mosaic, and there are artifacts from the merging process. I was considering painting the wall to the warm room white to provide some additional ambient light while observing, but ultimately decided that it would provide too much light.

Looking to the Warm Room

This view looks to the southeast corner of the observatory. The wall finish is complete, and the molding at the bottom of the wall is partially installed. The molding is white, to provide a contrast around the edge of the floor and some feeling about where the wall is when you are in the dark. On the right next to the window is an opening for an exhaust fan. With the curved roof and the need to fit over the wall, we were unable to find a roof-based fan that would work.

Partially Finished Corner

With the excitement of an angioplasty for me and eighth grade graduation for my daughter, we won’t be able to get out to see progress for a couple of weeks. By the time we do get out, the electrical will be complete, the well work done, and we should be ready to install the first telescope. I can’t wait.

Stucco Complete

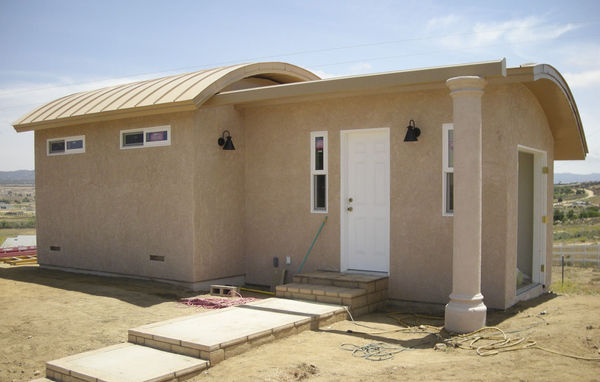
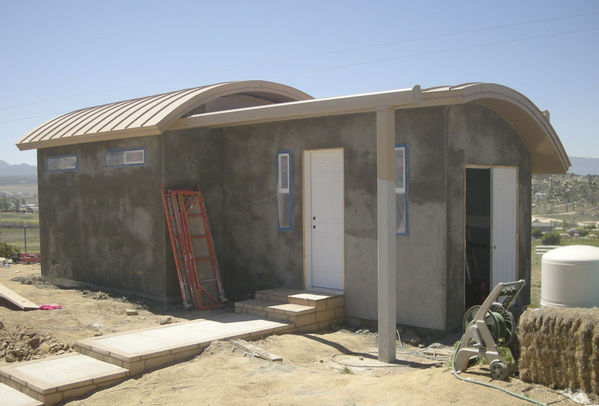
The exterior of the observatory is almost complete. The stucco color finish was completed last week. The major addition was the column finish around the steel support beam for the roll off. It is a nice finishing touch. The stucco color looks different from the color chip, but it looks OK with the roof. Here is the observatory last weekend looking to the south.

View to South

Roof Complete

We’ve reached another milestone in construction. The roof is complete and the base coat of the stucco is on the building. Pictures tell the story.

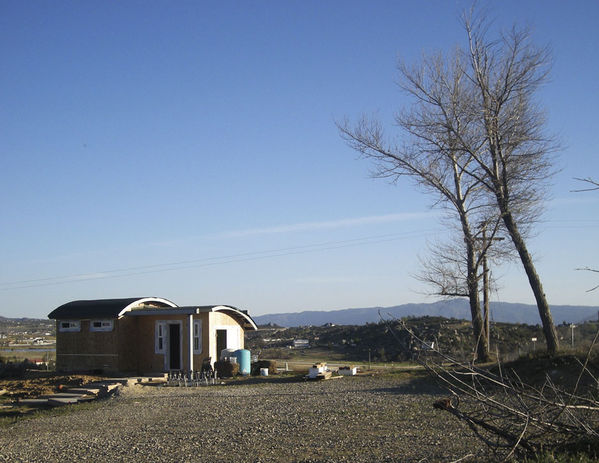
This shot shows the observatory from a distance looking east. The metal seamed roof looks very nice. As light a color as could be acceptable under home owners’ association rules. The “Ultra-Cool” roof is supposed to reflect heat. I hope it does. Clicking on the picture will bring you to the gallery.

Wide to East

This view looks to the south. The color of the beam matches the roof; the doors will match as well. the missing door on the right side of the image is due to an accident in high wind that damaged the door. It slammed back and bent in the middle. It will be great to see the stucco color coat next week.

View to South

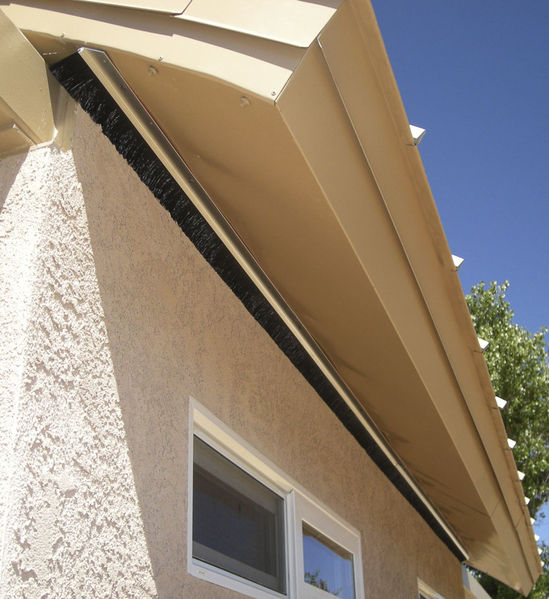
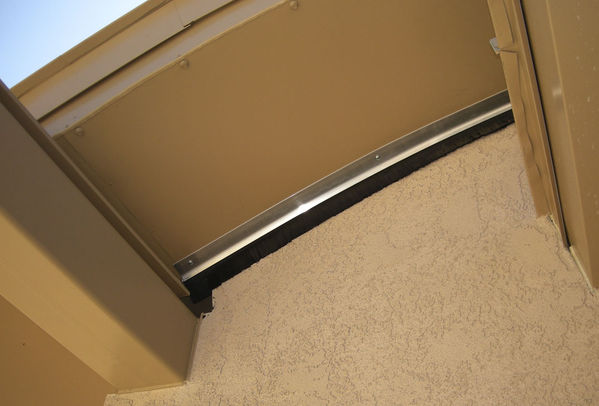
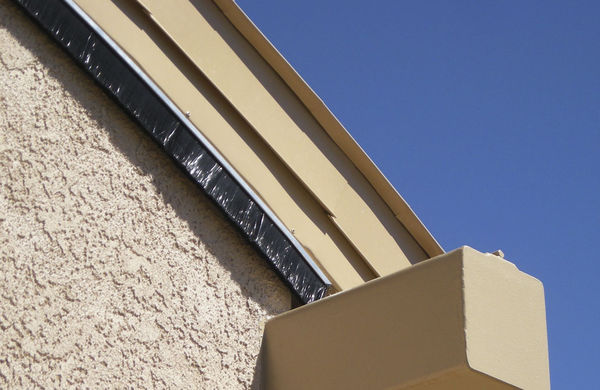
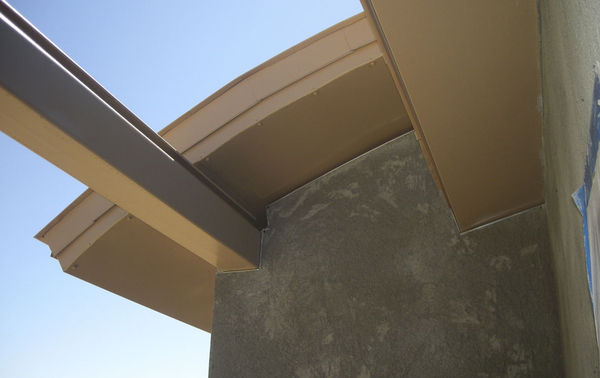
Finally, this shot shows the detail of the roof, soffit, and stucco. It is all fitting together very well. We still have all the weather stripping to do, and that’s going to be a challenge. But it’s really looking good so far.


Roof Line Detail

We are getting really close now. I’ve got to start thinking about the desk setup in the warm room, the red rope lights, and network connectivity. Now the work begins!

Roofing has Started

At our last update, the rough drywall had been completed and we were waiting for the roofers to come out and install the soffit and the metal roof. The wait for the roofers was longer than we expected, and we started on the stucco lathe before the soffit was installed. They finally started last week. It was worth the wait, as the soffit looks very nice. The soffit color is the same as the roof color.

This view is looking east, with the roof open and the soffit mostly installed. Clicking on an image will bring you to the gallery.

Roof Open

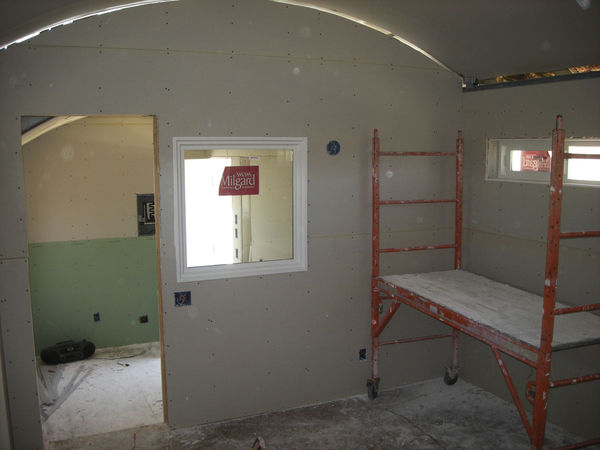
Here is an inside shot, looking northwest across the observatory toward the warm room. You can see how the soffit material wraps around the edge of the roof. Good looks and water tight too. The roof is not all the way open. Fully open there is no overhang of the observatory. This image is a Photoshop photomerge, so it has a couple of merge artifacts.

Inside the observatory

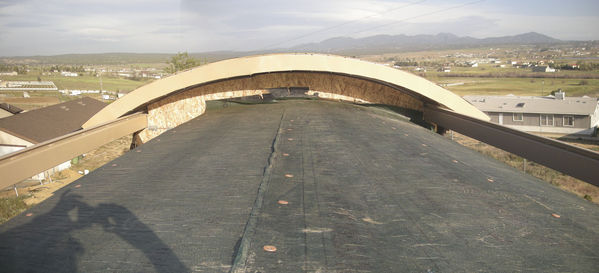
I was able to get up to the roof on the west side. This shot looks east over the lower roof. We painted the rails to match the roof color. The angle iron securing the movable roof is on both rails. There is a gap near the observatory to allow water to flow out and down rather than into the observatory. The wall above the lower roof will be covered with the metal soffit material. This is a photomerge with some artifacts.

Roof Top

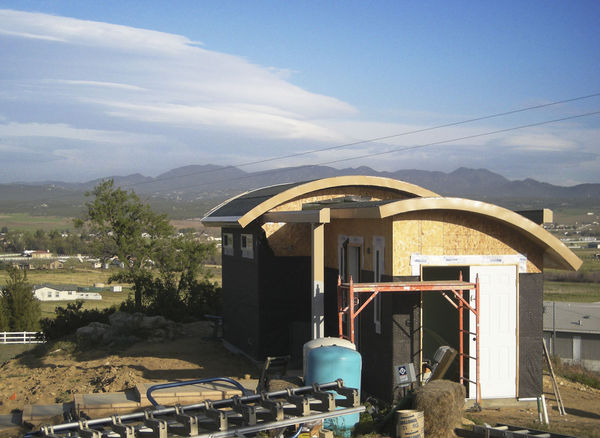
Finally, there were some pretty lenticular clouds over Iron Spring and Beauty Mountains. I was able to get them in the background behind the observatory in this view looking southeast.

Clouds

We are looking forward to lots of progress over the next several weeks. Drywall and lathe nailing inspection is planned for Tuesday, so the next step on exterior and interior finish will get started. And the roof should be complete this week.

Rough Drywall Installed

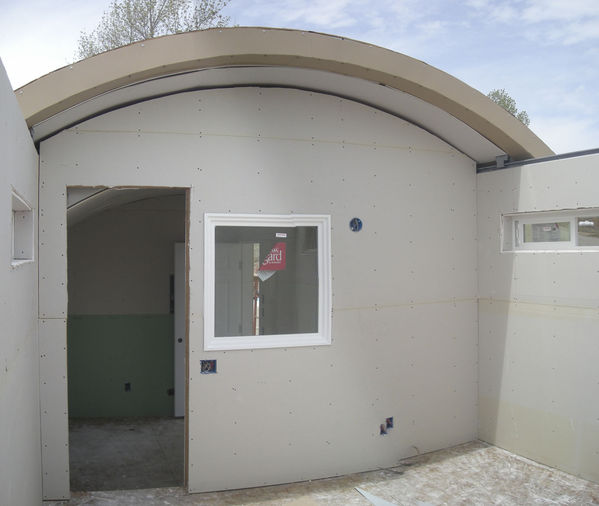
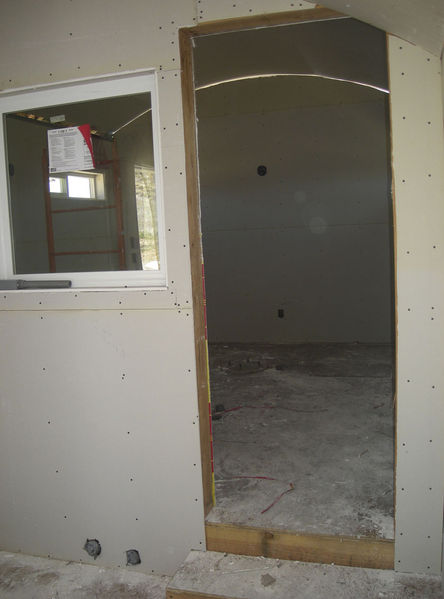
We’ve reached another milestone. The roof is weather tight and we have installed the interior drywall. This also means that the rough electrical is complete. This view looks from the observatory into the warm room. As usual, clicking on a picture will bring you to the photo gallery.

View into Warm Room

All the external and internal walls are insulated. The idea is to keep the observatory isolated from the warm room, and allow the observatory to cool quickly with the roof open. This looks from the warm room into the observatory. You can see the far pier footing in the back of the observatory. No weather protection has been put in place yet, that is why there is a lot of light coming in between the roof and the walls.

View into Warm Room

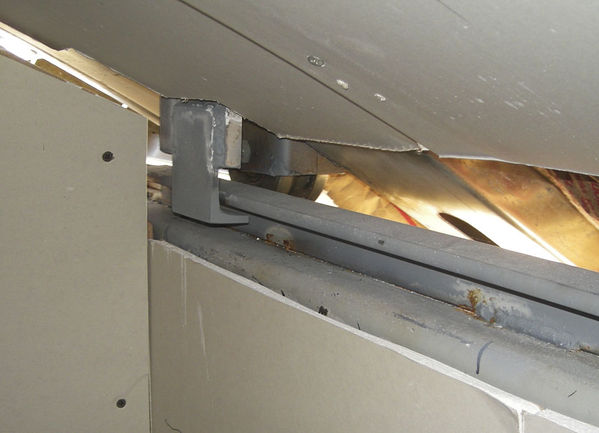
Greg Staten (our contractor, owner of Staten Construction Company) and I had been very worried about the roof blowing off in a high wind. We can get winds up to 100 mph up here and with a shape like a wing, flying away would be possible and a bad thing. Greg worked with Talley Metal Fabrication in San Jacinto to come up with a solution. Talley also did all the fabrication for the building frame and the curved roof. The solution is shown in this next picture. you can see how the flange from the roof goes under the angle iron welded to the top of the roll-off beam. Very strong and secure.

Hold Down

Now for an outside shot. This is looking east, and shows the roof quite well. The roof covering is a new underlayment that is sticky on the underside and is also nailed into the roof sheathing. It is designed to reflect infrared to reduce the heat transfer to the inside of the building.

View to East

Finally, here is a wide shot taken looking south. It is really looking nice.

Wide to South

A Plug: 400 Years of the Telescope

I received an e-mail from Carla Befera, who is doing national PR for 400 Years of the Telescope, a show coming up on PBS. She asked me to put in a plug for the show so my readers would know about it. It looks really good. It may have aired in your area as the general release was April 10, but it is on this Thursday, April 16 at 7pm on KCET in Los Angeles.

Here is the blurb from the press release:

This visually stunning program chronicles a sweeping journey, from 1609, when Galileo revealed mankind’s place in the galaxy, to today’s thrilling quests to discover new worlds in the universe. Narrated by NOVA’s Neil deGrasse Tyson, the compelling program takes viewers on an adventure through the heavens and around the globe, visiting the world’s leading astronomers, cosmologists and observatories.

I did let Carla know that I’m not sure how many readers I have. I am tickled pink that I even showed up on the radar! And I am certainly willing to put in a plug for what looks to be an excellent program.

UPDATE

It appears that the show will be on KCET on Thursday April 30th at 9pm. The earlier broadcast date is for “KCET World,” whatever that is. The KCET website is full of bugs too. Links don’t work, information is incomplete. Poorly executed. But this still looks like a good show.

Windows In

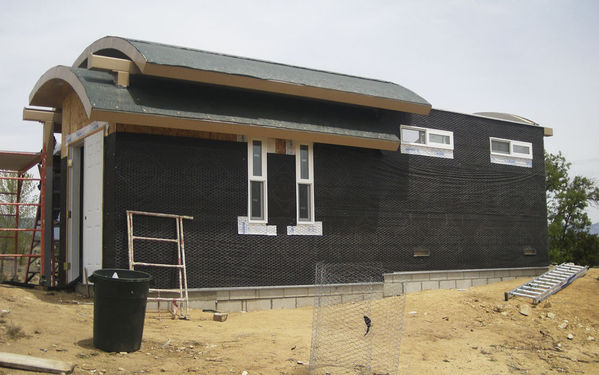
This is a bit of a belated status report. We were out in Lake Riverside last weekend, and saw good progress on the observatory, but I haven’t written up the progress until today. We’ll be in town this weekend, so no picture updates for another week.

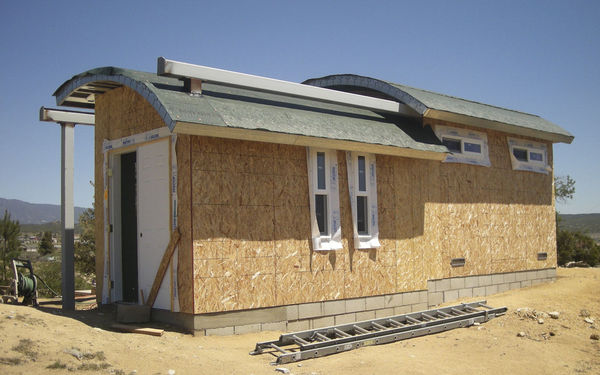
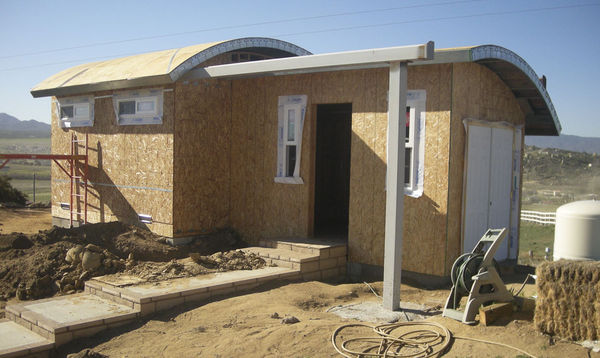
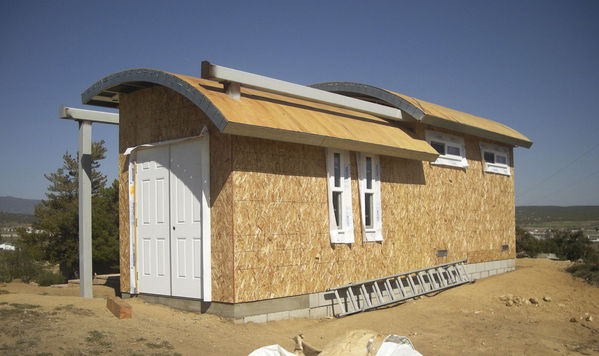
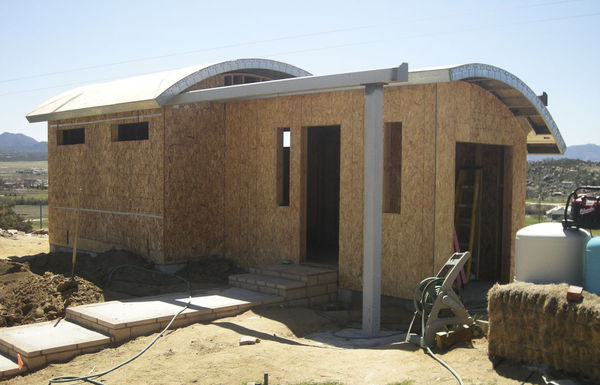
As of last weekend, we had the rough framing inspection completed, the roof sheathed, and now the windows in the building. You can begin to get a feeling for how the building will look. The doors on the far right are to the pump equipment room. The entrance to the warm room and observatory in the middle of the photo. The main door is not in place because the step in front is just a little too close and will need to be cut back.

View to South

Looking to the east, you can see the curve of the roof.

View to East

There is another shot in the gallery of the newly installed step between the warm room and the observatory.

We met with the electrician on Saturday and laid out plans for wiring and lighting. I plan to have red rope lights in both the observatory and warm room, with both on dimmers. There will be regular lights in both rooms, and plenty of sockets in the walls.

Saturday night and Sunday were very windy, with a steady wind of 20 mph and gusts up to 45 mph. As far as I could tell, the roof wasn’t budging. It is being held down by four very sturdy straps, but there was no evidence of movement even in large gusts. That is reassuring.

There has been quite a bit of progress since last weekend. On Monday, the roofers came and put the initial covering on the roof. The steel fabricators came out and welded the hold-down “L” set up on the beams and the roof itself. This set-up will prevent the roof from being blown off in any position, so we don’t have to rely on a tie down. I wrote about my concerns in an earlier post. The rough electrical went in on Wednesday, and, with the roof now water tight and passing inspection on Thursday, the insulation on Friday. The water tight aspect is fortuitous, as it has rained a quarter inch this evening (April 10).

The coming week could bring the soffits from the roofing company, drywall inside, and the beginning of the work on the exterior stucco. Lots of progress! There will be pictures next week.

Rough Framing Complete

We’ve reached another construction milestone. Rough framing is complete, including the sheathing on the roof, and we have passed the rough framing inspection with only a few open items.

This shot shows the progress on the roof very well. You can see the curve and how the beam will carry the moving roof. One of the issues our contractor dealt with was getting the plywood to curve on the roof. The plans call for 1/2 inch plywood, but that cracked as it was bent over the steel struts that are on 24 inch centers. We used 3/8 inch plywood, certified for 24″ OC sheathing and that worked. This change, however, led the inspector to require updated engineering. (Clicking on a picture will take you to the photo gallery.)

View to East

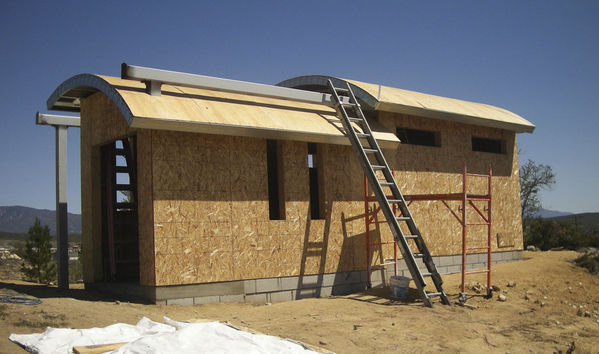
This view looks at the entrance to the building, looking south. The well equipment will go inside the small room on the far right side of the building. The warm room is inside the door in the center of the picture. Entry to the observatory will be from the warm room.

View to South

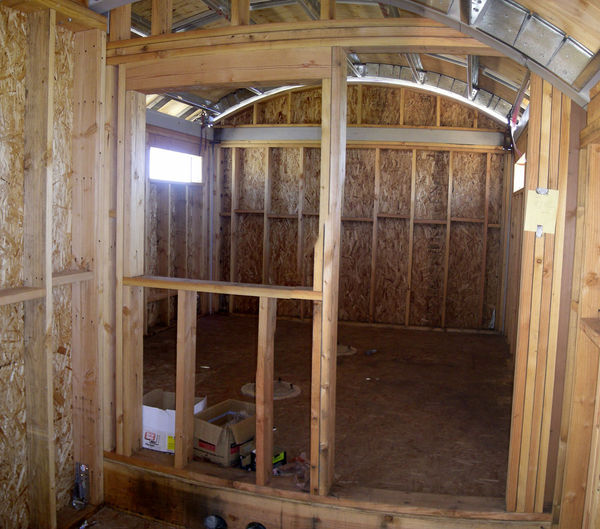
This view looks from the warm room into the observatory. The window on the left will look into the observatory, and the door on the right will open into the observatory. In the back, you can see the wall framed up to conform to the inside of the curve of the roof. One advantage of this design is that it leaves as much clearance as possible inside the observatory. This means that scopes may not need to be fully parked to clear the roof. This image is two images stitched together in Photoshop; there are some artifacts where the two images didn’t quite line up. A view looking the other way is in the gallery.

View into Observatory

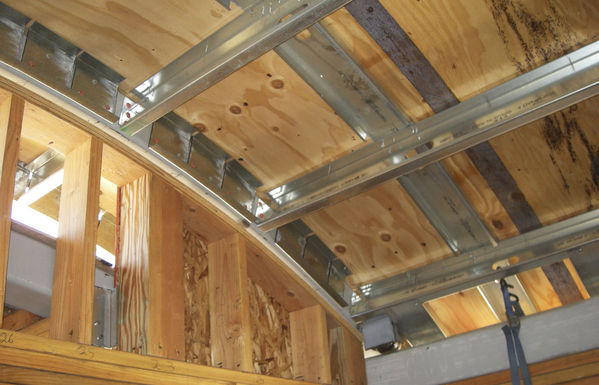
The detail on the roof framing is shown in this picture. Each strut is attached to the 6″ curved tube steel rafters. The wall is framed up underneath. There will be weather stripping at the top of the wall to keep out rain and dust.

Roof Framing Detail

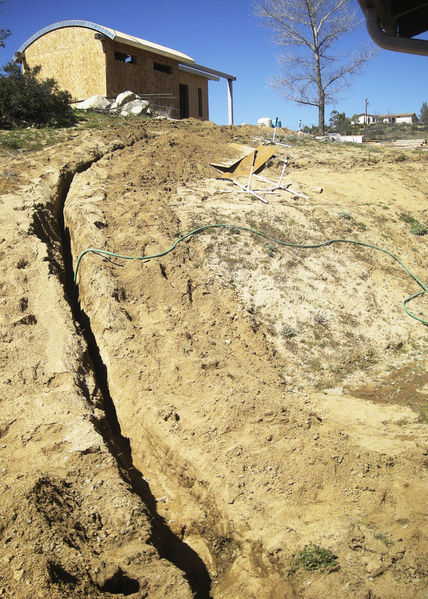
We needed to get access to power from the house. Our original plan to use the existing power feed to the pump failed because it was in too small a conduit to handle the additional wires required. Since we’ve got the ground opened, I’m going to add two 2″ conduits for network and whatever else I might need. I do have an open question as to whether I should use fiber to avoid interference with the power and to prevent ground loops.

Trench

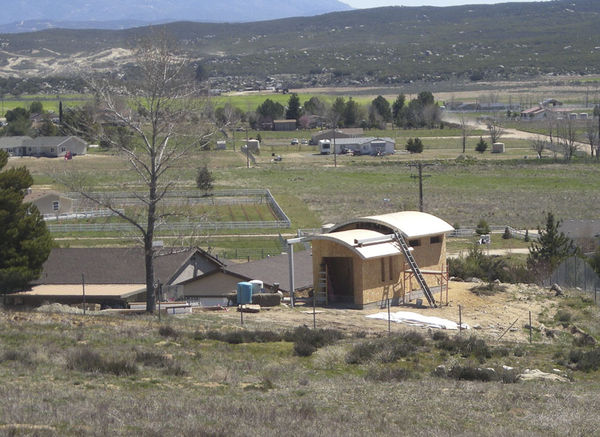
Finally, this view from up the hill shows the roof very well. The area next to the observatory will look much nicer once the well equipment is moved inside. Part of the roof of the house and garage are visible in the background.

View from Road

A full set of pictures is in the Construction Gallery.

NGC 2403 Revisited

This is a new version of an image I took back in January 2007. I spent two nights capturing data, but I have never been satisfied with the original processing. I have finally have gotten around to trying again.

On preliminary comment in self-defense here. This is a difficult object, even under dark skies. It is diffuse, with the broader areas quite dim. I was imaging in West Los Angeles, with very light-polluted skies. Much of the galaxy is only slightly brighter than the background sky glow in the city. I may have taken eight hours of data, but seeing was not that great and the signal was barely above the background.

Here is the original image. It has many flaws. First, it is mirror-flipped so the orientation is incorrect. It should have been cropped before it was processes to eliminate the lines all around the edges. It is stretched too hard and looks over processed.


NGC 2403 Original Version

Here is the revised image.

NGC 2403 Revised Version

I was much less aggressive on stretching the image. Image reduction (darks and flats) was done in Maxim DL. I aligned and stacked the images in CCDStack. I found that the bicubic b-spline resampling produced the least noise in the align process. I used mean combination to combine the subframes. Technique-wise, I created a master luminance frame and then used that to align the R/G/B frames.

Most of the processing was done in PixInsight. I did most of the enhancement work was done on the luminance image. I cropped the image, rescaled it to use the full dynamic range. This was required since the signal was very low and I had combined with a mean combine rather than a sum. A sum would have produced higher totals, but the net result is the same as a mean. I stretched the image with historgram, but did not clip it but for a small amount at the lower brightness levels.

I did try to do most of the processing on a linear version of the image, per the advice of the experts from PixInsight. While I was able to more easily get a star mask built, HDR Wavelet and other functions just didn’t work well.

With the image stretched appropriately, I copied it and did an HDR wavelet transform with a star mask applied. This was averaged with the original image. That was essentially the final luminance image.

For the RGB frames, I did a similar stretch process, attempting to create similar-looking histograms for each one. I then combined all frames into a color image using LRGB combination. I brought that image into Photoshop to adjust the color balance and then used Russ Croman’s Gradient Xterminator to flatten the background. Finally, back into PixInsight for some brightness touch up and noise reduction.

The exposure is LRGB 8 hours, 10 minutes total exposure, L = 115 min (23×5 min) + RGB 375 minutes, RGB = 125 min (25×5 min), all unbinned. The equipment: C-11 @f5.95, CGE mount, ST-10, CFW-8A, AO-7, & Hutech LPS Filter.