I’ve been taking photos for years, starting in middle school and continuing to today. I spent years working on black and white photos in the darkroom and really loved the control one has to control how your photos look. The birth of digital photography has brought that joy back. With great tools like Adobe Lightroom and Photoshop, I can crop, adjust contrast, and tweak however I’d like. I can even “cheat” by removing unwanted items from a photo (although I do that sparingly: One must protect the integrity of the image unless one just calls it “art”).
At this point, I have about 9,500 pictures in my Lightroom catalog, going back about three years. I find there are some I really like. So I thought, which one of these would I want to publish as postcards or in a calendar? That is the subject of this post. To share some of my photographs that I particularly like. This does not include any of my astrophotos, I focused solely on terrestrial photography. Selecting the photos was difficult. My original culling left me with over 30 photos. The standard I learned in the 1980s was that a National Geographic photographer would take 20,000 photos to print 15, so quantity enables quality.
As it is, I am still imposing 10 of my photos on you. So I hope you like them. And forgive my vanity in posting them.
The first is a real favorite. Just a bird on a rock, but all the subtle grays and sky really are nice. Taken at McCarty’s Cove in Marquette, Michigan.
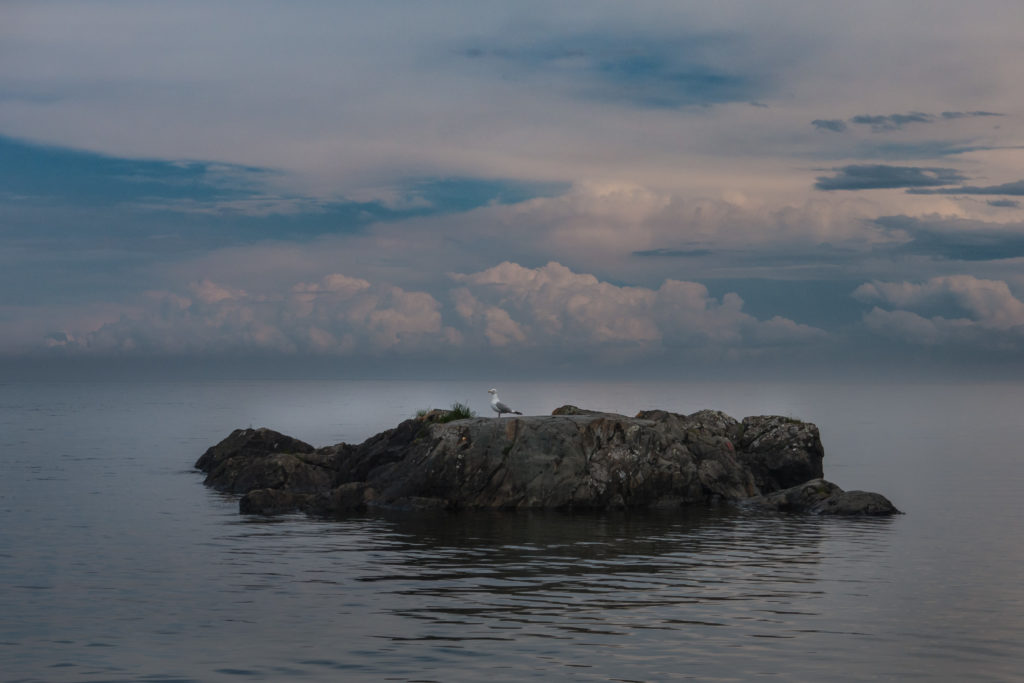
McCarty’s Cove, Marquette. Michigan
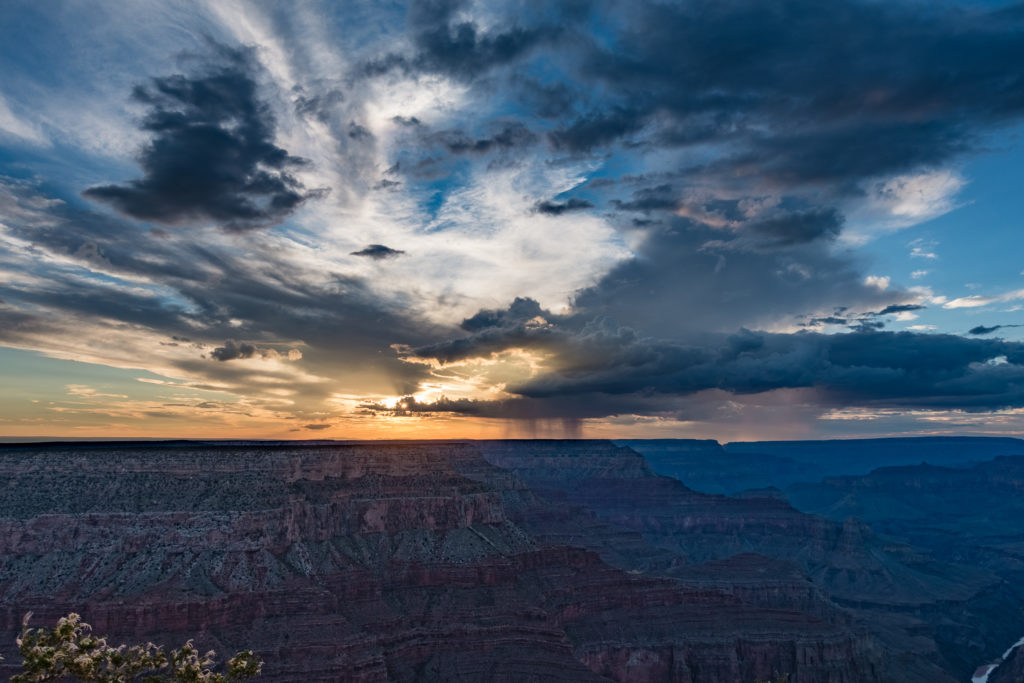
We had a road trip earlier this year and I took a ton of photos at the Grand Canyon. We were lucky to have storms to liven up the view.
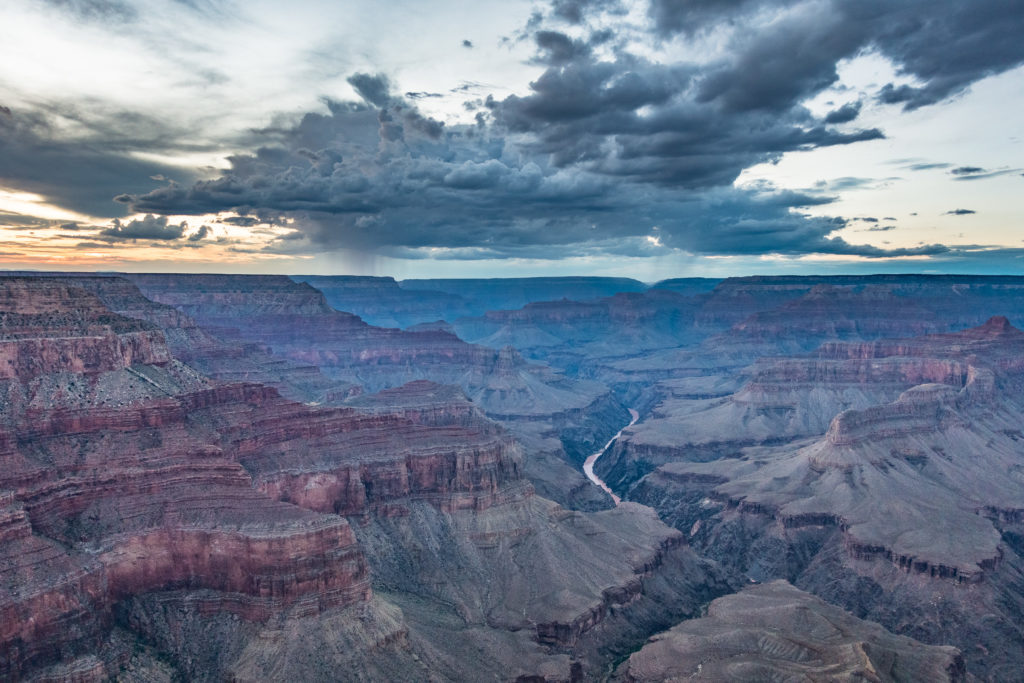
Grand Canyon and storms from Pima Point
This ore dock in downtown Marquette, Michigan has been out of use since the mid 1970s. It used to deliver chunk ore as opposed to the processed pellets used today. There was a railroad bridge that extended over downtown to the dock in the front of the picture, so now this really looks like a relic.
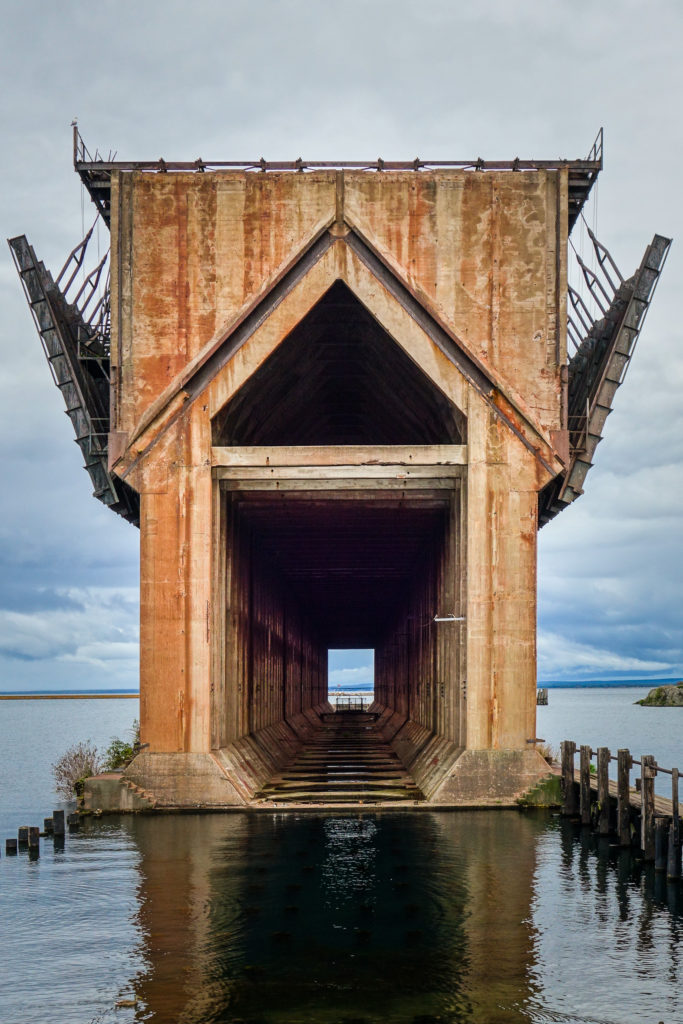
The downtown Marqueete iron ore dock,, once used to load iron ore on ships
Living in Southern California, we “visit” the snow. What a change from when I lived with it. I like the subtle tones and shapes in this image.
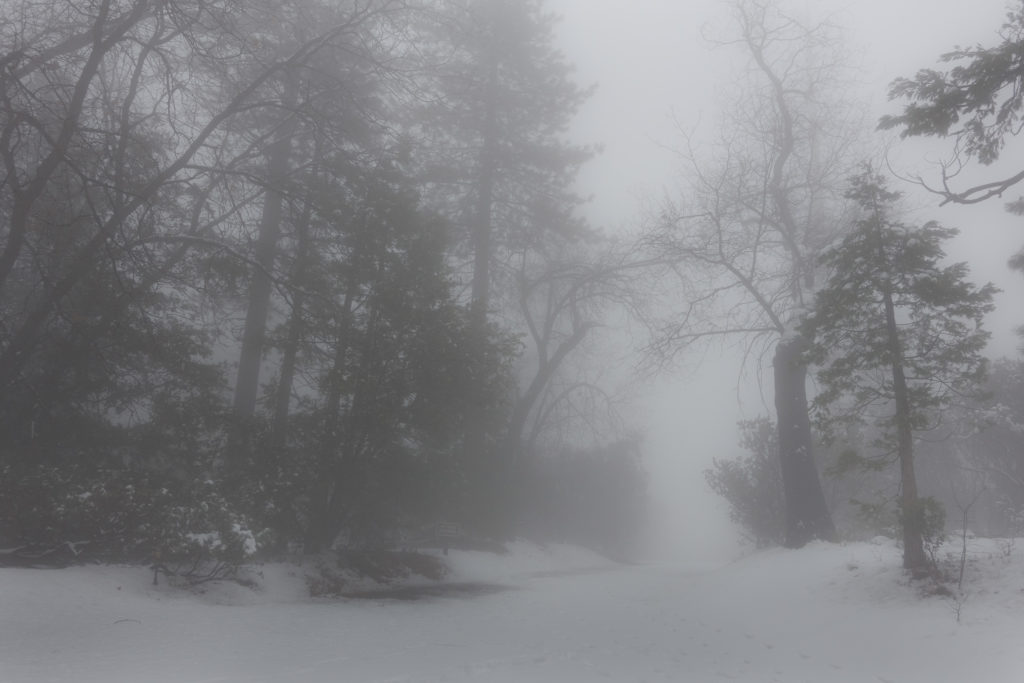
Fog and snow near Idylwild, California
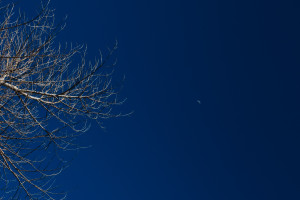
High clouds, dusk, fall, what else does one need?
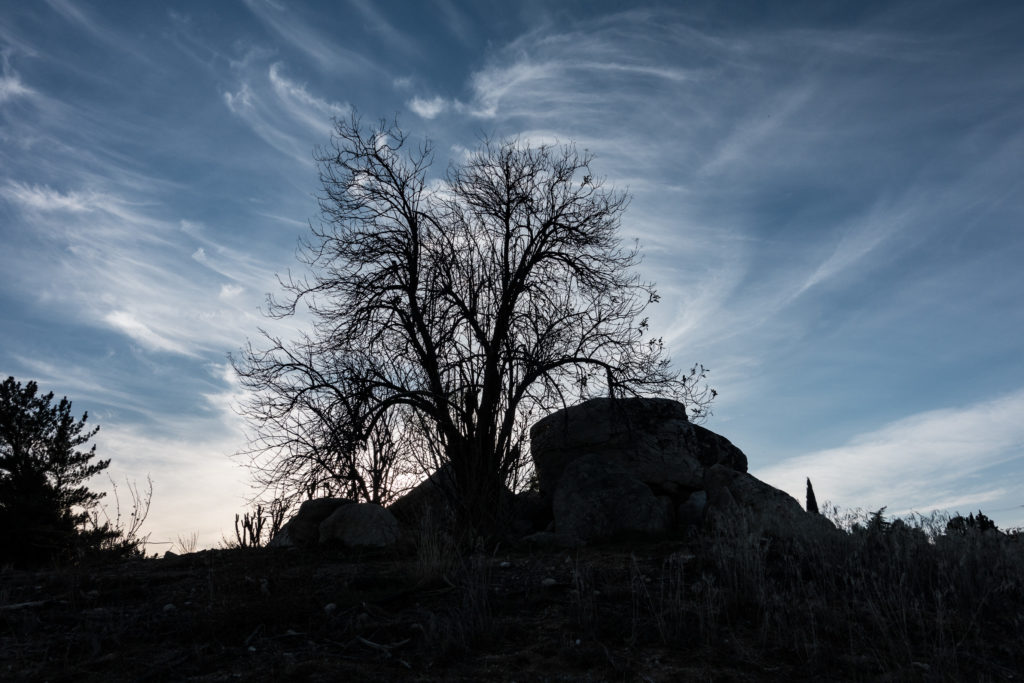
Tree and rock in Lake Riverside
This is a temple in Telakadu, India. I like how the interior is indirectly illuminated by the bright sunlight.
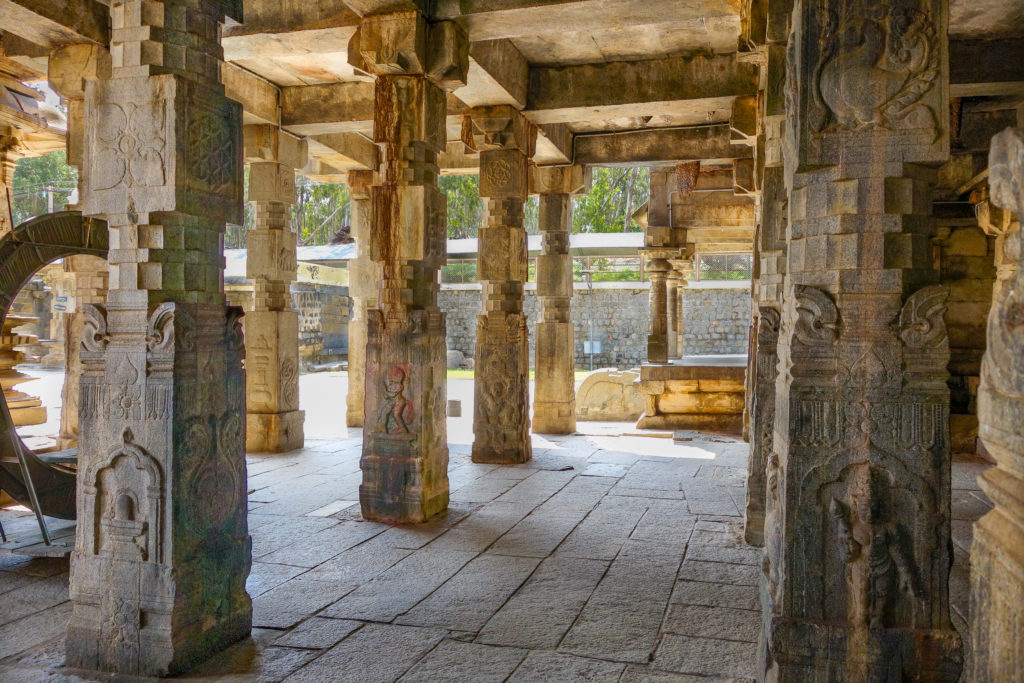
The interior is quite pretty
Matheran, India is a hill station — a mountain top resort — near Mumbai. We saw an amazing sunset there.
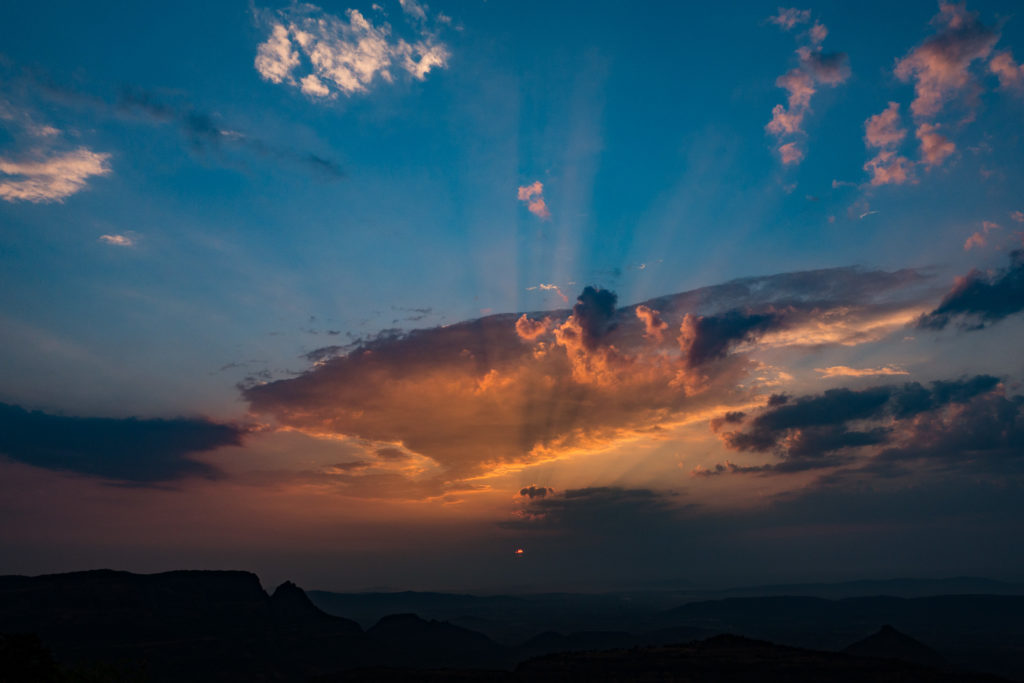
The sunset from Sunset Point, Matheran, India
This is a special woods trail for me. In the Upper Peninsula of Michigan, this picture is a classic early summer image of the woods.
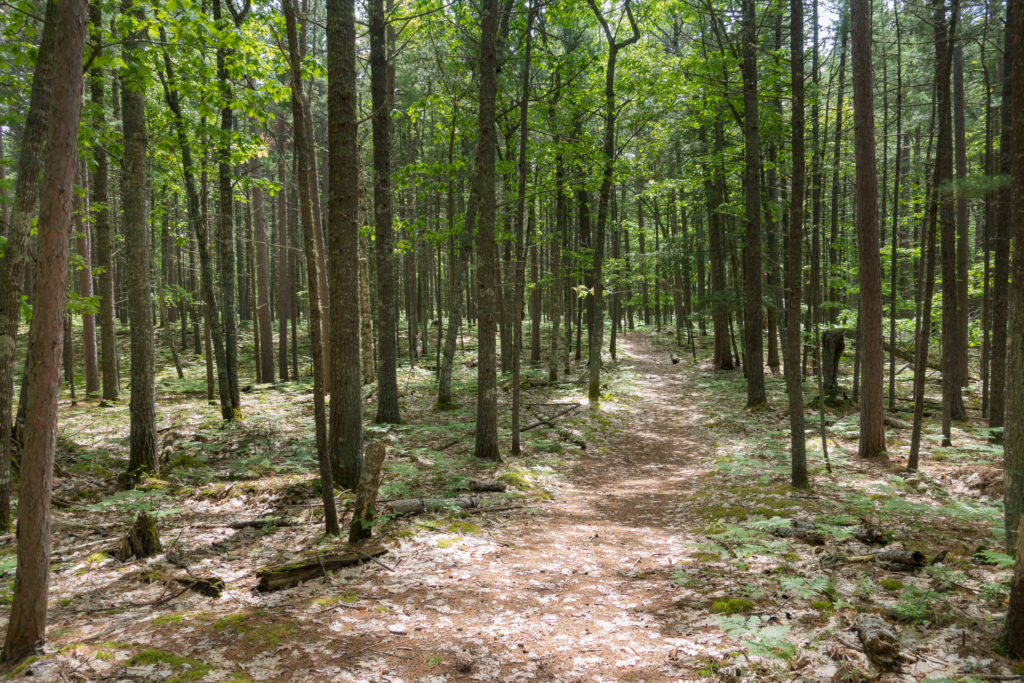
The trail through the woods between Conway Lake and Lake Superior
Along the road from downtown Anacortes, Washington to the Washington State Ferry Terminal, there is a very active shipyard. Walking through it, it is clear that it has been active for a long time. This oil truck has no doubt been parked for an extended period.
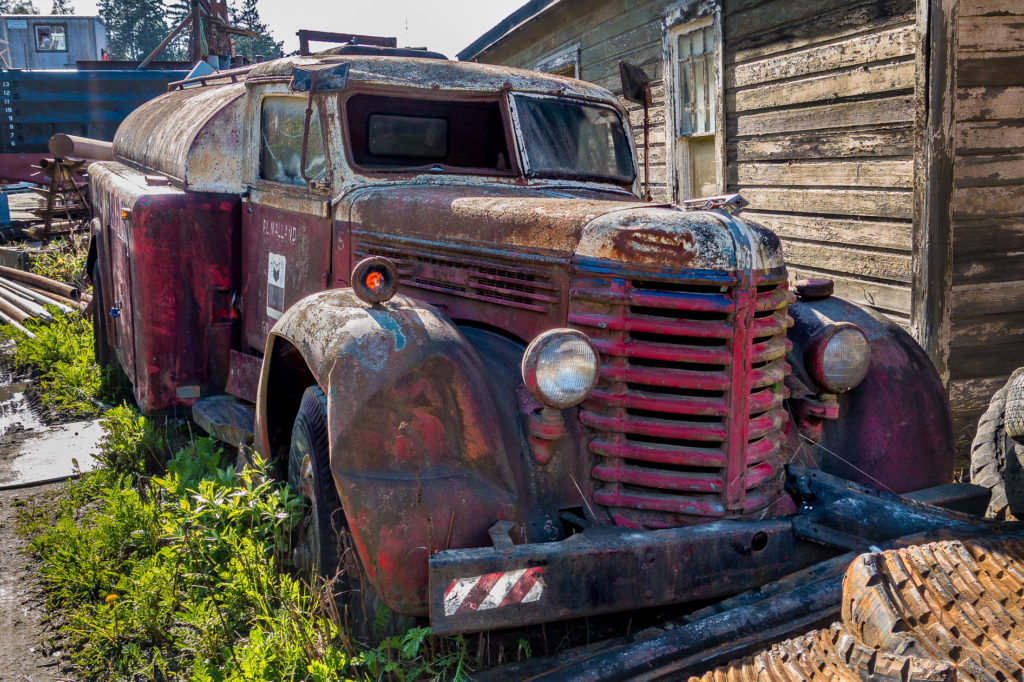
A colorful old oil delivery truck.
Finally, a late afternoon picture from Hermit’s Rest at the Grand Canyon. I’ll admit I took 500 shots on the sunset tour alone. I was bracketing the exposures to get all the subtle tones and differences in brightness.
Sunset and storm over the Grand Canyon from Hermit’s Rest
Thanks for looking.
Like this:
Like Loading...


You must be logged in to post a comment.